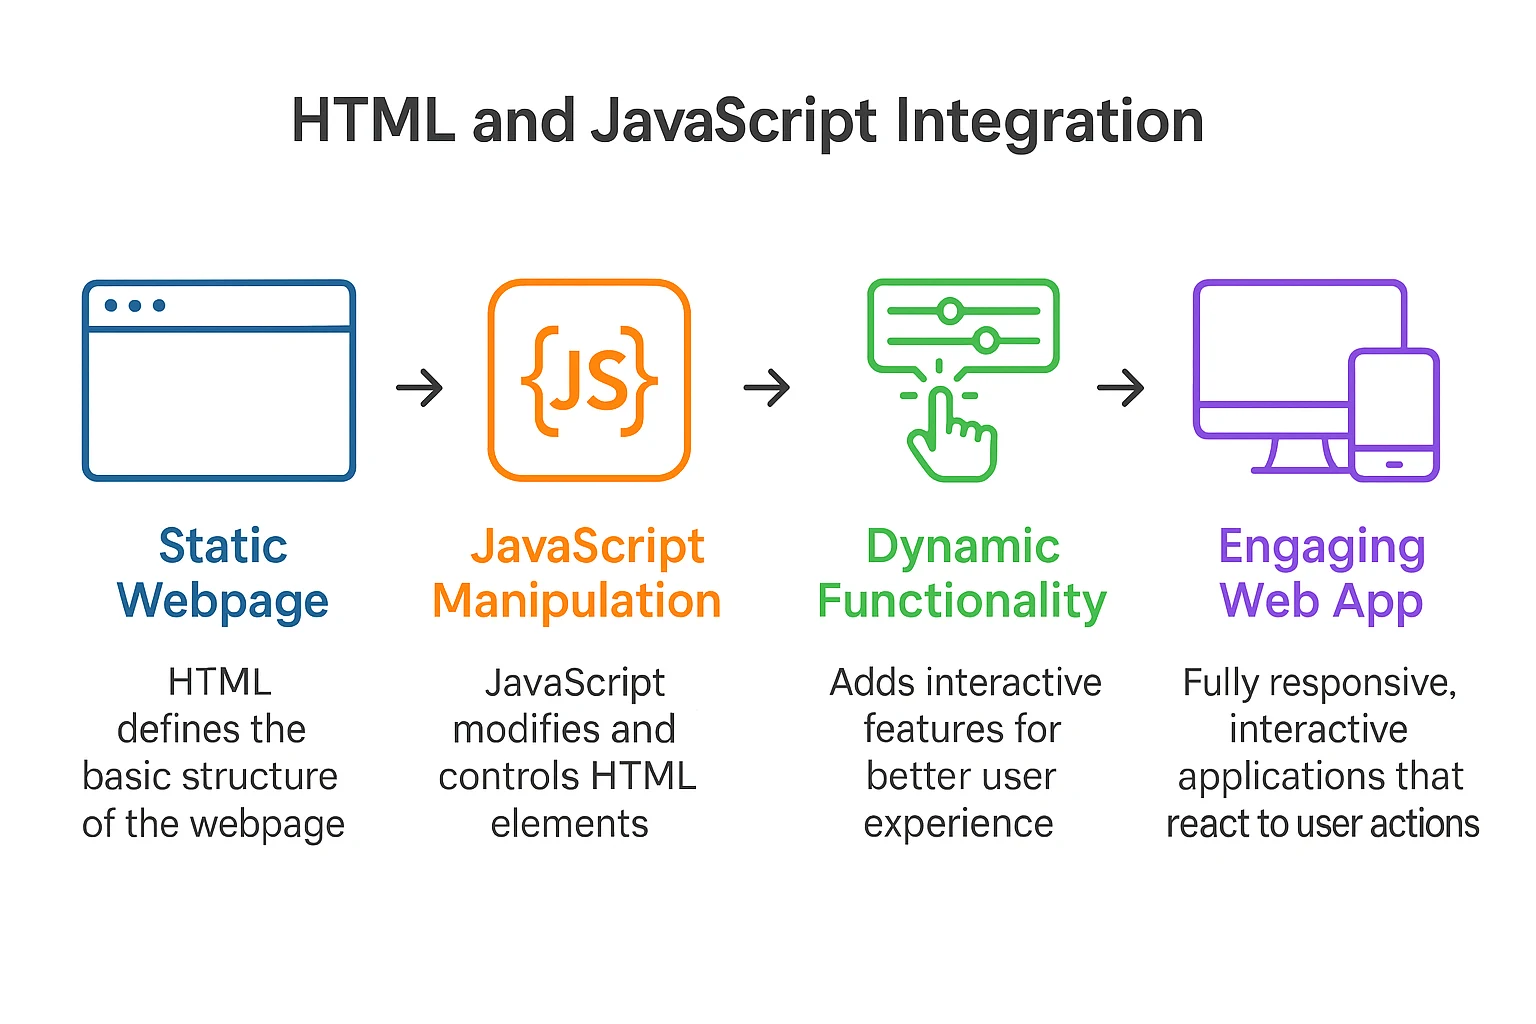
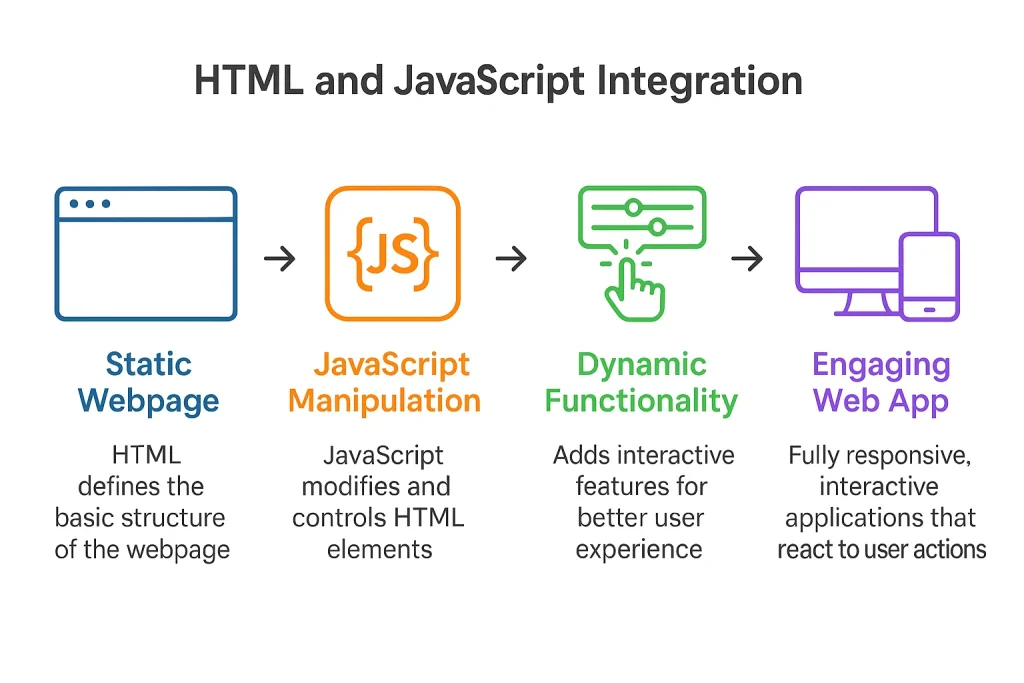
If you’ve ever worked with HTML, CSS, and JavaScript, you’ve probably heard the term “DOM”. The DOM in JavaScript is the magic that lets you turn static websites into dynamic and interactive entities.
What exactly is DOM in simple terms?
In simple terms, think of your HTML code as the architectural blueprint for your house. The blueprint defines the structure of your house, including the location of rooms, doors, and windows. So, the DOM (Document Object Model) is the physical house built from that blueprint. It’s a live image of your webpage that you can interact with. You can’t simply change the blueprint with a paintbrush, but you can paint the walls of the actual house. Similarly, you use JavaScript to “paint” or modify the DOM (your physical house in this analogy), not the original HTML file.
Why should beginners care about DOM?
For a beginner, learning the DOM is essential. It’s the bridge that connects your JavaScript logic to the user’s screen. For example, you may want to change text after a button click, or you may want to show a pop-up when a user tries to leave. Sometimes you may want to create a new list item when a user submits a form. In all these cases, it’s the DOM that actually plays the main role.
What will readers learn from this article?
In this guide, you’ll learn everything you need to know to get started. We’ll cover:
- What the DOM is,
- How it’s structured,
- How to manipulate it with essential JavaScript methods, and
- How to apply your skills to build practical projects.
- And the remaining other things
DOM Fundamentals
To understand how to work with the DOM in JavaScript, you first need to look at the fundamentals.
How does DOM actually work?
When a browser loads your webpage, it reads (or “parses”) your HTML document. As it does, it builds the DOM, a tree of objects in memory. The browser then uses this DOM to render the visual page. When your JavaScript code alters the DOM, the browser automatically updates the page to reflect those changes.
What’s the difference between HTML and DOM?
There is a common point of confusion for beginners to understand the difference between HTML and DOM. However, if you’ve looked at our previous analogy with a sharp eye, things may have already become clear to you. Let’s try to make this scenario clearer.
- HTML: The source code you write in your .html file. It’s a static text file that defines the initial page structure.
- DOM: The live, in-memory object model created by the browser from the HTML. It can be changed by JavaScript. If you change the DOM, the user sees the update, but your original index.html file remains unchanged.
What does the DOM tree look like?
The DOM represents your HTML document as a logical tree. Each element, attribute, and piece of text in your HTML becomes a node in this tree.
Let’s take a simple HTML example:
<!DOCTYPE html>
<html>
  <head>
   <title>My Page</title>
  </head>
  <body>
    <h1>A Simple Heading</h1>
    <p>This is a paragraph.</p>
  </body>
</html>
The corresponding DOM tree would have a clear hierarchy:
Document (The root of everything)
       <html> (The top-level element)
           <head>
               <title>
                   Text Node: "My Page"
           <body>
               <h1>
                   Text Node: "A Simple Heading"

               <p>
                   Text Node: "This is a paragraph."
In this hierarchy, <html> is the child of the Document. <head> and <body> are siblings and are both children of <html>. This parent-child-sibling relationship is key to navigating and manipulating the DOM.
DOM Tree Structure Deep Dive
The DOM tree isn’t just made of elements. It’s composed of various types of nodes that give it structure and content. Understanding these nodes will help you effectively manipulate the web page.
What are the different types of DOM nodes?
Every part of the document is a node. The most common types you’ll encounter are:
- Element Node: An HTML element, like <div>, <p>, or <h1>.
- Text Node: The text content inside an element.
- Attribute Node: An attribute of an element, like id=”header” or class=”container”.
- Comment Node: An HTML comment.
How do parent-child relationships work?
The elements in the DOM tree have some relationship with each other:
- Parent: A node that directly contains another. <body> is the parent of <h1>.
- Child: A node directly contained within another. <h1> is a child of <body>.
- Sibling: Nodes that share the same parent. <h1> and <p> are siblings.
How can beginners visualize the DOM structure?
The best tool for visualizing the DOM is your browser. Yes, you get it right. All modern browsers come with a Developer Tools option that lets you inspect the live DOM tree.
To open the Developer Tool option, you can simply right-click on any element on a webpage and select Inspect or click the F12 button on the keyboard. Once open, you need to go to the Elements tab. You’ll see an interactive, collapsible tree. This tree represents the current state of the DOM:
If you use JavaScript to change something, you will see the update when you refresh the page: This is the most powerful way to see the “before” and “after” effects of your DOM manipulations:
Essential DOM Methods
Now, let’s move to the fun part: tweaking things. JavaScript has a rich set of methods to interact with the DOM. Let’s cover the essentials.
How do you select elements from the DOM?
Before you can modify an element, you need to select it. So, here are a couple of methods to do this:
- document.getElementById(‘element-id’): Selects the one element with a given ID.
- document.querySelector(‘css-selector’): Selects the first element matching a CSS selector (e.g., .my-class, #my-id, p).
- document.querySelectorAll(‘css-selector’): Selects all elements matching a CSS selector and returns them in a list.
Let’s see an example to work this out.
First, we create an HTML file that prints two paragraphs.
<div id="header">
  <p class="content">First paragraph.</p>
  <p class="content">Second paragraph.</p>
</div>
Then, we write JavaScript to interact with it:
const header = document.getElementById('header');
const firstP = document.querySelector('.content');
const allPs = document.querySelectorAll('.content');
console.log(header);
console.log(firstP.textContent); // Outputs: "First paragraph."

console.log(allPs.length); // Outputs: 2
The first line of the code selects the target element by ID. Next, it selects the first element matching a class. Then, it selects all elements with the “content” class.
Further, the script outputs the <div id=”header”> element. In the same way, it outputs attributes attached to the log function.
How do you modify content?
Now, let’s come to our main point: how to modify the content. Once you’ve selected an element, you can change what’s inside it.
- textContent: Gets or sets the text content.
- element.innerHTML: Sets or gets the HTML content (risky one).
Let’s take the above HTML file and write JavaScript to handle it:
- header.textContent = ‘This is new text now.’;
- header.innerHTML = ‘<h2>New Title</h2>’; // Replaces content with an H2 element.
So, this script sets the value for the header attribute. Thus, it replaces everything inside the div with plain text. The next line of code adds HTML and replaces content with an H2 element.
How do you change styles and attributes?
You can use the .style property to modify inline CSS styles of an element. Let’s see some code to understand this.
We have an HTML file that specifies an image:
<img id="logo" src="logo.png">
Next, we set the properties of the file using JavaScript:
const logo = document.getElementById('logo');
logo.style.border = '2px solid blue';
// Change attribute
logo.setAttribute('alt', 'Company Logo');
// Add a CSS class
logo.classList.add('img-responsive');
The first line targets the image by selecting its id attribute. Next, it changes the border style. Further, it sets the alt attribute to Company Logo. Finally, it adds a new class called img-responsive.
How do you create and remove elements?
There are several methods to create and remove DOM elements in JavaScript:
1. Creating Elements
- createElement(): Creates a new element node
- appendChild(): Adds a node as the last child of a parent element
- append(): Modern method that can add multiple elements or text
- prepend(): Adds elements to the beginning of a parent
2. Removing Elements
- removeChild(): Removes a child node from its parent (traditional method)
- remove(): Modern method to remove an element directly
Practical Examples
The theory is okay, but it will make sense only when you know how things work. So, let’s see how the DOM in JavaScript works in practice.
1. How do you build a simple to-do list?
This is a simple beginner project that uses the core DOM handling skills. Here, you type tasks, and then add them to a list, and delete them later, just like a notepad.
First, create a text input box, button, and empty list.
<input id="todoInput" type="text" placeholder="Enter task" />
<button id="addBtn">Add</button>
<ul id="todoList"></ul>
Next, write some JavaScript to make the page interactive.
const input = document.getElementById('todoInput');
const button = document.getElementById('addBtn');
const list = document.getElementById('todoList');
button.addEventListener('click', () => {
  const task = input.value.trim(); // Get the user's text
  if (task !== '') {
    const li = document.createElement('li'); // Create list item
    li.textContent = task;
    const delBtn = document.createElement('button');
    delBtn.textContent = '❌';
    delBtn.onclick = () => li.remove();
    li.appendChild(delBtn);
    list.appendChild(li);
    input.value = '';
  }

});
So, what JavaScript does is a set of tasks:
- Listens for a button click
- Reads the text the user typed.
- Creates a new task item and adds it to the list.
- Creates a delete button that can remove the item when clicked.
2. How do you create an image gallery?
This example displays a set of image. When you click a thumbnail, a corresponding image appears.
First, create an index.html file with an empty <div> for image thumbnails.
<img id="main-display" src="img1.jpg">
<div>
  <img class="thumb" src="img1-thumb.jpg" data-full="img1.jpg">
  <img class="thumb" src="img2-thumb.jpg" data-full="img2.jpg">
</div>
Then, you need JavaScript to:
- Load image URLs.
- Create image elements and add them to the gallery.
- Show the image when a thumbnail is clicked.
Here’s the JavaScript code:
document.querySelectorAll('.thumb').forEach(thumb => {
  thumb.addEventListener('click', function() {
    const fullImageSrc = this.getAttribute('data-full');
    document.getElementById('main-display').src = fullImageSrc;
  });
});
We store the path to the image in a src attribute. When a thumbnail is clicked, the corresponding image appears.
3. How do you validate forms in real-time?
Real-time form validation helps users determine whether the form is filled out correctly or not.
Here, again, create an HTML file:
<input type="text" id="username">
<p id="error-msg" style="color:red;"></p>
The above HTML page has an input field for the username. Moreover, the <p> tag shows an error message. To make this form interactive, we create a JavaScript
const usernameInput = document.getElementById('username');
const errorMsg = document.getElementById('error-msg');
usernameInput.addEventListener('input', function() {
  if (usernameInput.value.length < 5) {
    errorMsg.textContent = 'Username must be at least 5 characters long.';
  } else {
    errorMsg.textContent = '';
  }
});
Let’s break down what this JavaScript does here. It parses the two fields, username and error-msg. If the username is less than 5 characters, it shows the error message.
DOM Events
Static pages are not very interesting. Here, Events come into action. They make pages come alive.
What are DOM events, and why are they important?
An event is a signal that shows something has happened. This could be a user action like a click or keypress event. Or it can be something the browser does (like finishing loading a page). Events are important because they are the triggers for your JavaScript code. Your code “listens” for these events and then runs a function in response.
What are the most common event types?
Let’s show what common event types are:
- Mouse Events: click, mouseover, mouseout
- Keyboard Events: keydown, keyup
- Form Events: submit, input (fires every time the value changes)
- Window Events: load, resize, scroll
Without these events, JavaScript can’t respond to your actions.
3. How do you properly handle events?
Now, this is something important you should know. The modern and best way to handle events is with the addEventListener() method. It allows you to attach multiple listeners to the same event, providing more control. Let’s write some code to understand this.
Here, we first create a button using HTML:
<button id="greetBtn">Say Hello</button>
Yes, that simple one-line code is enough. Next, we write a JavaScript to pop a message when this button is clicked:
const greetBtn = document.getElementById('greetBtn');
greetBtn.addEventListener('click', () => {
  alert('Hello there!');
});
We attach an event listener to greetBtn for the click event. When the button is clicked, the addEventListener function is executed. As a result, the alert function pops up the message Hello there.
Best Practices & Common Mistakes
Best practices not only help write correct code but also help in writing efficient, clean, and maintainable code. This is essential as your project grows.
1. What are the performance best practices?
- Minimize DOM Access: Accessing the DOM is slow. If you need to reference an element multiple times, select it once and store it in a variable.
- Batch DOM Changes: Instead of adding 100 elements one by one in a loop (which causes 100 page re-renders), create them all in-memory using a DocumentFragment. Then append the fragment to the DOM in a single operation.
- Use Event Delegation: Instead of adding listeners to every child element, add one to the parent.
2. What mistakes should beginners avoid?
As a newbie to DOM, you can make the same common mistakes when learning DOM manipulation.
- Ignoring innerHTML Security
Never insert insecure user input into innerHTML. A malicious user could inject a <script> tag and perform a Cross-Site Scripting (XSS) attack. Instead, use textContent whenever you’re just dealing with text.
- Writing Unstructured Code
Beginners often mix HTML structure, CSS styling, and JavaScript logic in one place. This makes the code hard to maintain. Each one should ideally be placed in a different location.
- Accessing DOM Elements Too Early
If you try to manipulate DOM elements before the page has finished loading, your script might fail. Always check that the DOM is fully loaded before running DOM code.
3. How do you write maintainable DOM code?
Good code isn’t just code that works. It’s something that humans and machines both to read and interpret.
Here are some points you can look for in good code.
- Use clear and meaningful IDs or class names
- Keep structure, style, and logic separate
- Organize code into small functions
Debugging DOM Issues
Debugging DOM issues means figuring out why your elements don’t behave the way you expected them.
1. How do you debug DOM-related problems?
- Using console.log() and console.dir()
These functions are your best friends. Use console.log() to check the value of variables or see if an element was selected correctly. Use console.dir(element) to print a full, explorable object representation of a DOM element.
- Browser DevTools:
On many modern browsers, you can use the Elements tab to inspect the current state of the DOM and the Console tab to see errors.
- Debugger:
In the Sources tab of DevTools, you can set breakpoints in your JavaScript. The code will pause execution at that point, so that you can inspect the state of your variables and the DOM at a specific moment.
2. What are the most common DOM errors?
The most common error when working with DOM is “TypeError: Cannot set property ‘…’ of null”. This almost always means that your JavaScript code attempted to work with an element that wasn’t found (e.g., due to a typo in an ID or the script running too early).
3. How Do You Test DOM Manipulations?
You can manually test DOM manipulations in different browsers. In case your application is complex, you can write automated tests with frameworks like Jest that simulate the DOM.
What’s Next After Learning DOM?
You might be wondering, I’m now done with DOM, so what should I do next. Here’s the answer.
1. What should beginners learn next?
Go deep into events with event delegation. Learn how you can fetch data from servers using the Fetch API.
2. When should you consider frameworks?
When your projects become large and complex, managing state and UI updates manually is not an easy task. Here come the frameworks like React, Vue, and Angular to help you out. It’s best to learn them after you are comfortable with the vanilla DOM in JavaScript.
3. How do you practice DOM skills?
Build, build, build. That said, try cloning simple websites. Take on challenges from sites like Frontend Mentor. The more you code, the better you’ll get.
Conclusion
Here, we conclude our journey and provide a brief recap of this guide. The DOM is like a bridge between your JavaScript and what the user sees. It’s a tree-like model of your HTML. It helps you build rich, interactive web experiences. Your next step is simple: practice. Don’t just read about it. Open your code editor and build the to-do list. Create the image gallery. Try to build a simple form validator. The more you interact with the DOM, the easier it will become.

